3d Modeling for Games - Tutorial, Part 1

|
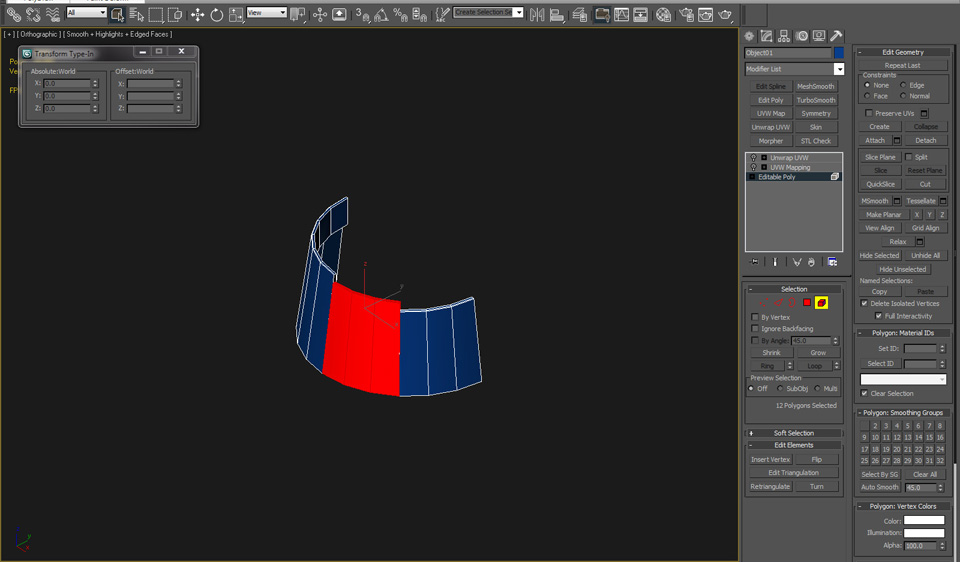
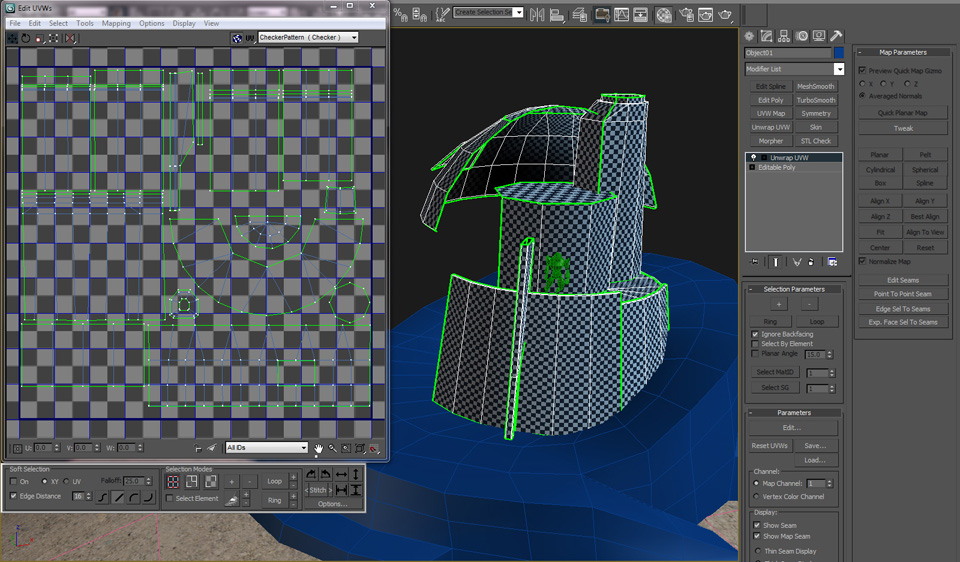
You can either separate your object in to elements that can be mapped, or you can select groups of faces and map those groups one by one, then assemble those UV shells in the 0 to 1 UV space. Plan ahead, and instance elements where possible. Break the entire object in to groups of faces or elements and map each group separately resulting in each 3d element having its own UV shell or group of UVs. Or, using the Unwrap UVW modifier, select groups of faces, map them using the projection tools, then move on to the next set of faces.
|
|
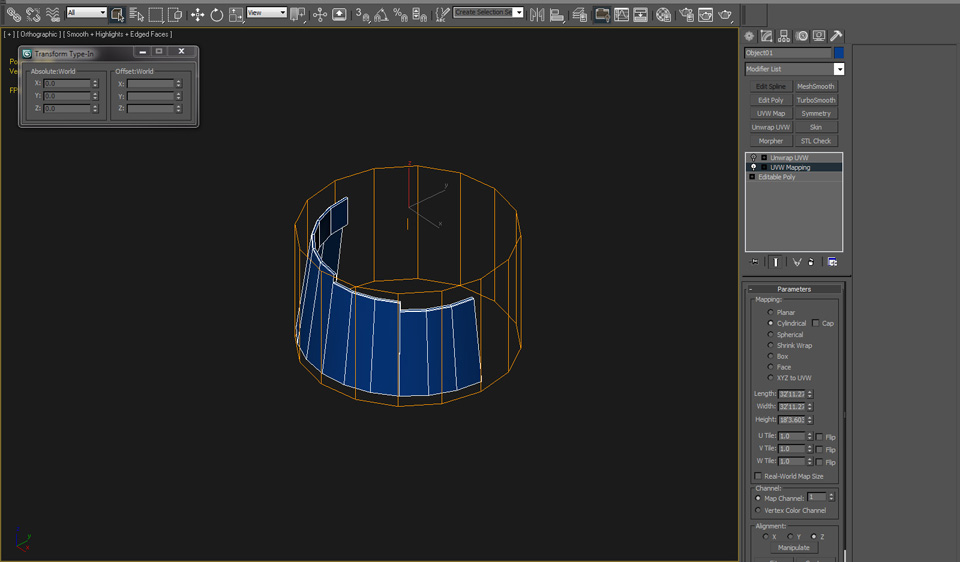
Use either the UVW Map modifier or the Unwrap UVW modifier - or both - to map each element or set of faces.
|
|
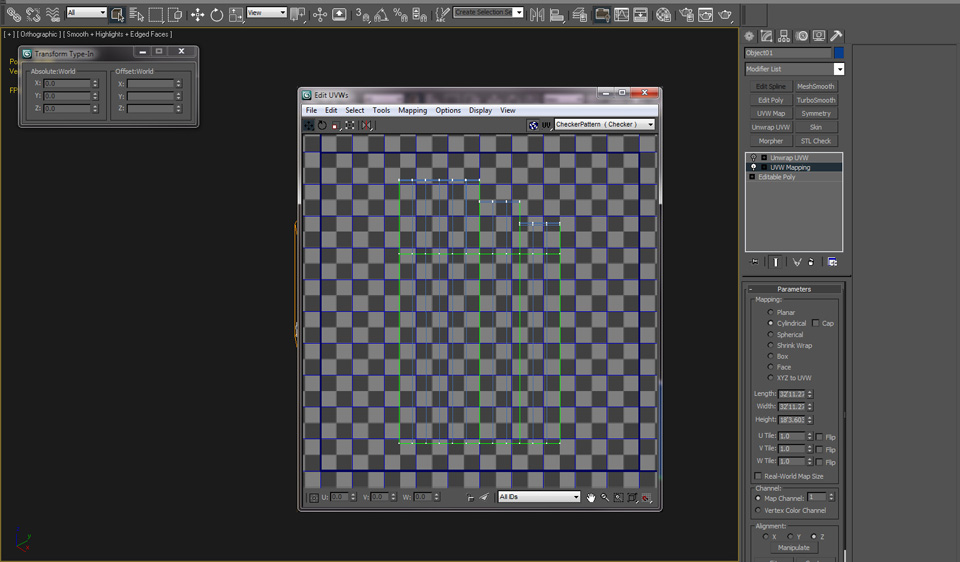
Scale, move, and rotate the UVs in to place after you create the initial mapping.
|
|
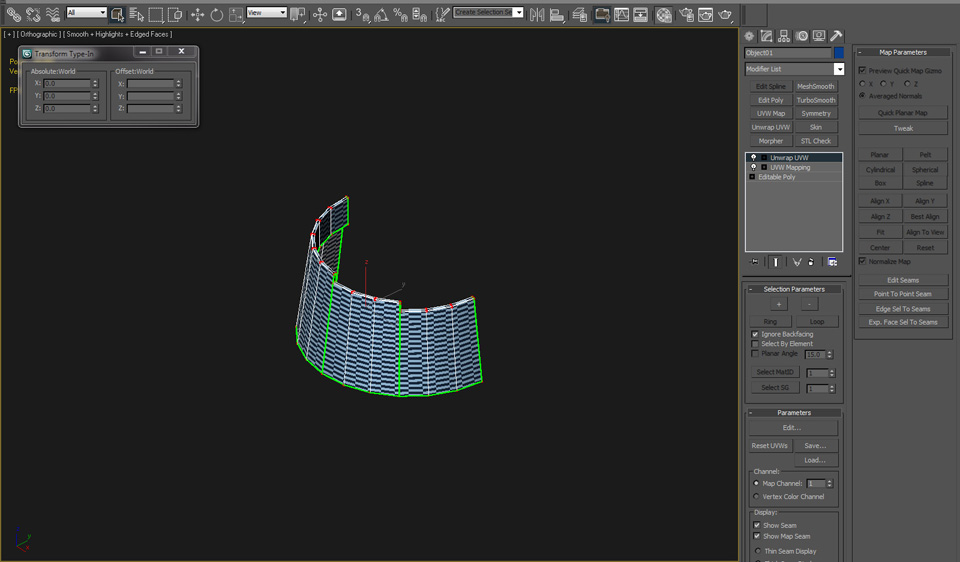
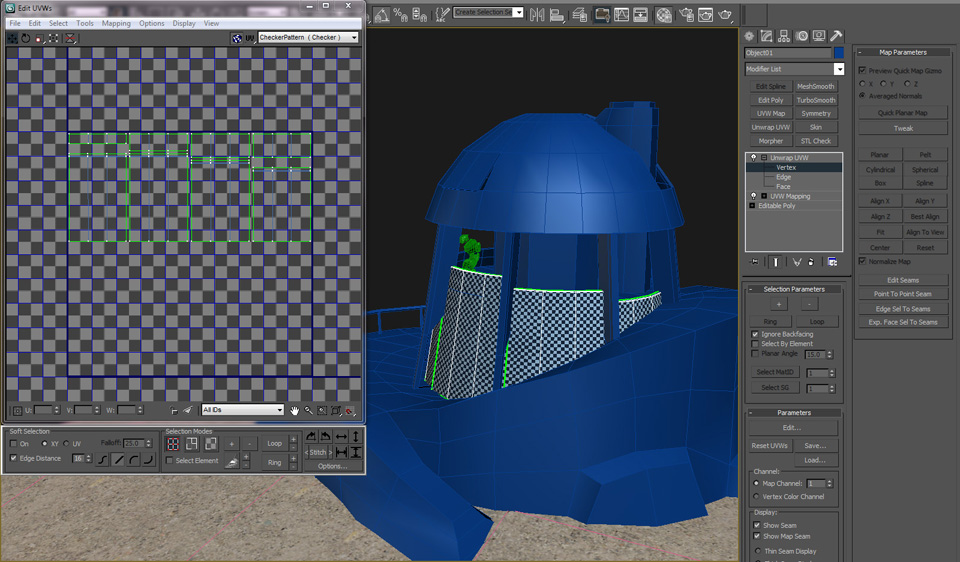
Apply a checker material to the object and tile the checkers as needed to view the UV stretching. Adjust the UVs accordingly and begin to position them in the UV 0 to 1 space.
|
|
Map other elements of the same object the same way by only selecting the faces you want to map, then applying UV coordinates either with UVW Map or Unwrap UVW. You can also map a second object separately, then attach that object to the mapped object, collapse, and add an Unwrap UVW modifier to assemble the different UV shells. Once your object is collapsed or if you are working in the Unwrap UVW Edit UVs window, you can position each set of UVs with other mapped elements.
|
|
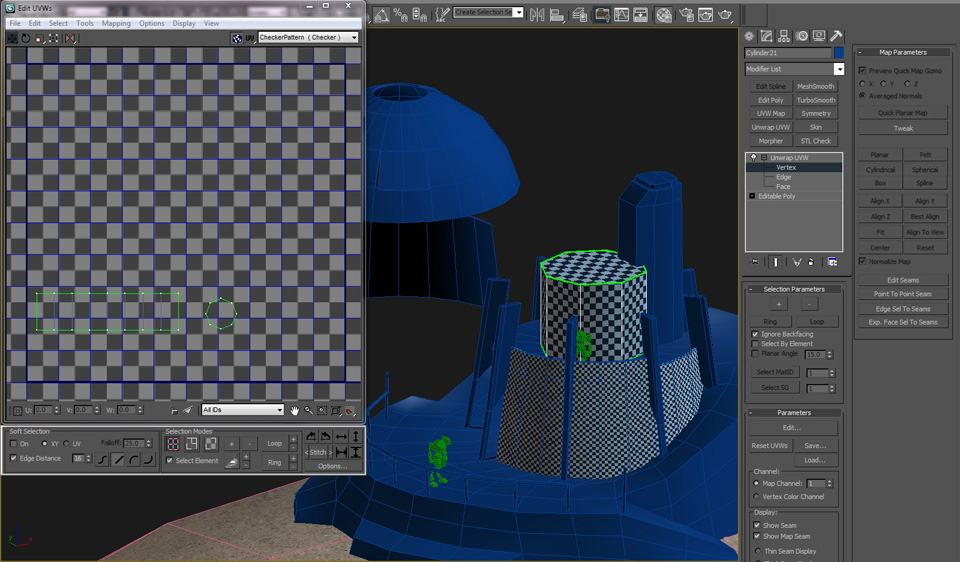
One set of polys at a time, create UVs, then move, scale and rotate them. As each UV chunk or element is moved around, scale them so the overall checker pattern shows squares, not rectangles, and consistently sized squares from element to element. 3ds max refers to parts of an object as an element, and you can select by element both in the Edit UVs window and the UV modifiers.
|
|
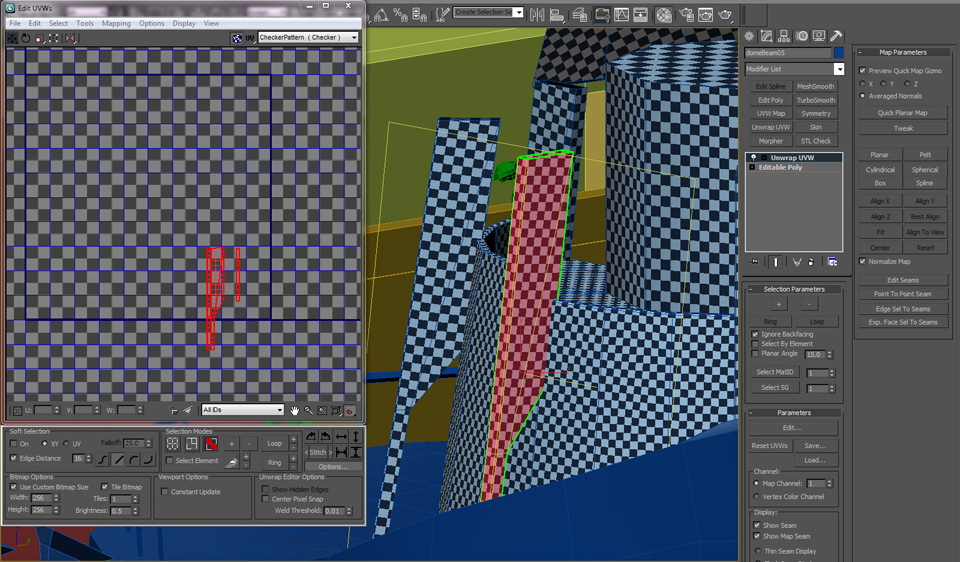
Work toward consistent checker sizes through the model. Continue to position, rotate and scale the UVs to fit in the UV 0 to 1 space.
|
|
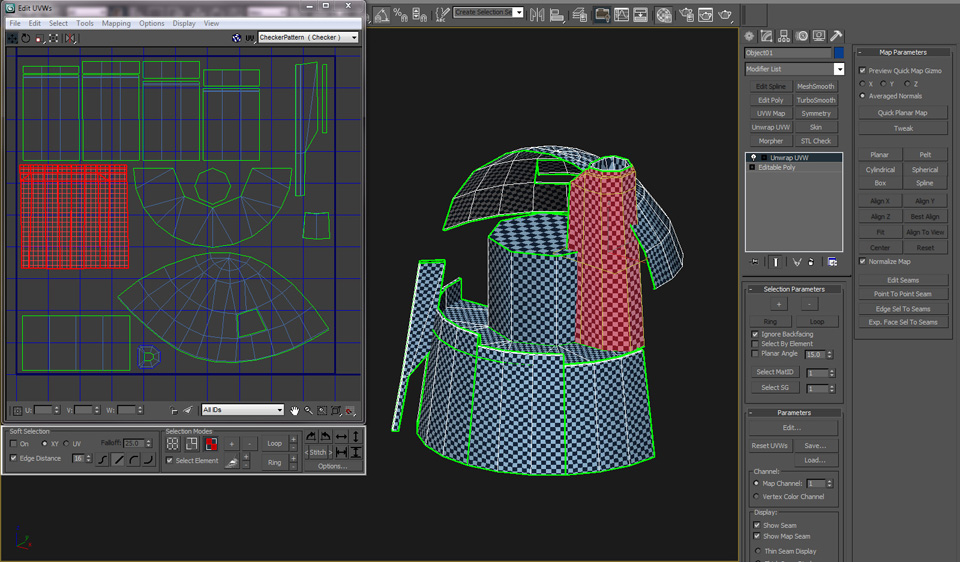
Once the UVs are assembled, continue to edit the UVs until the checker pattern is consistent and you are satisifed with the overall layout. Be sure to leave a little space between each group of UVs.
|
| With the object mapped you can now use the Tools/Render UVW Template to create an image that will serve as a GUIDE layer in Photoshop where you can assemble and paint your texture. In Photoshop, keep the UVWs as a top layer. Inverse the green on black to create a mostly white image, then blend as a Multiply layer. Or you can select all the black in the UVW image, and simply delete the black to reveal the green lines which can then be colored or darkened, and blended as needed. |
|
Concept by Horia Dociu. Model by Scott Martin.
|